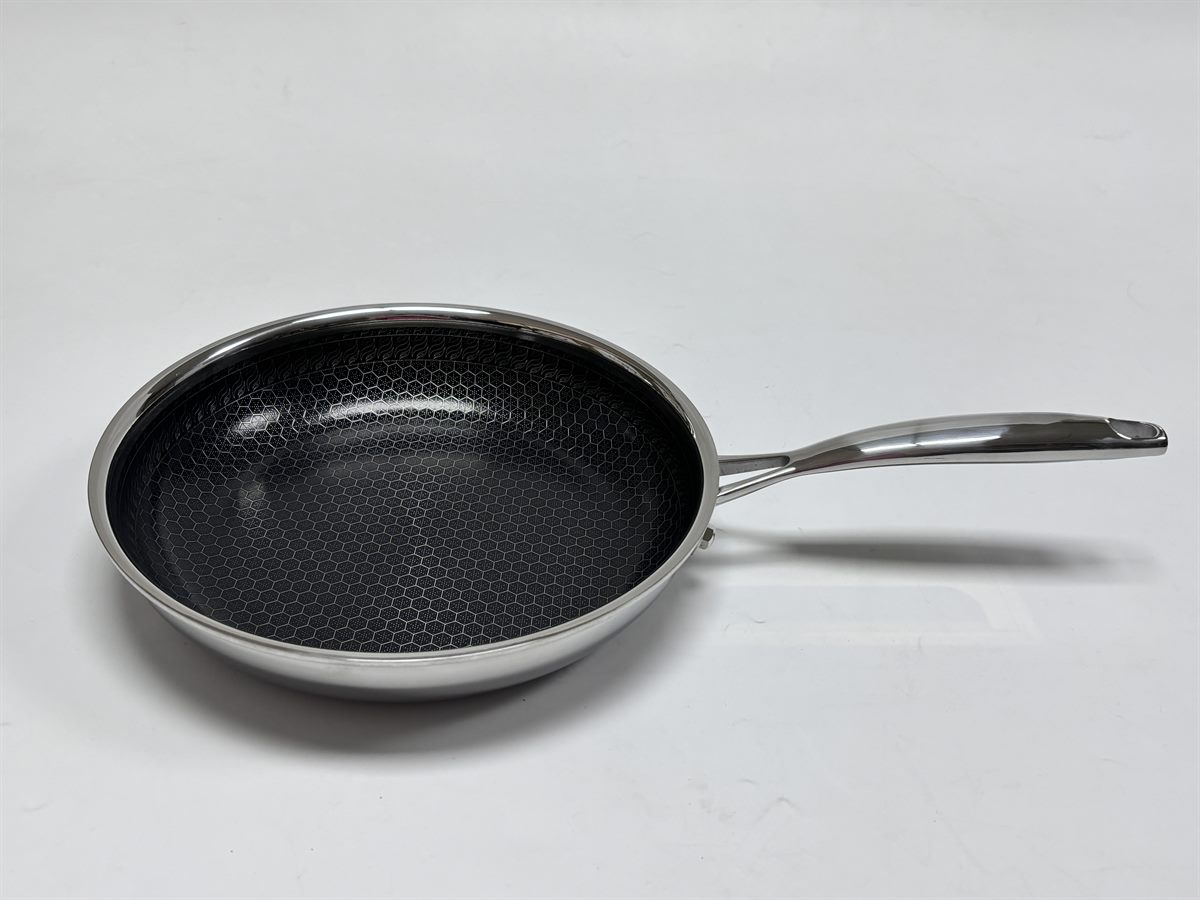
Full-coverage honeycomb cookware, powered by PPG FUSION® Edge.
The honeycomb paradox: scratch-proof, and still sticky
Honeycomb pans were invented to solve one problem, and they solved it well: coating destruction by metal utensils.
The design is elegant. A hexagon pattern is etched into a stainless steel body, leaving a raised mesh of hard steel standing above recessed cells. The non-stick coating sits in the cells, while the steel skeleton takes the punishment from spatulas and scouring pads. In theory, you get the release of a coated pan with the abuse tolerance of stainless steel.
In practice, most buyers discover the same thing in the first week: the pan is not actually non-stick where food touches it most.
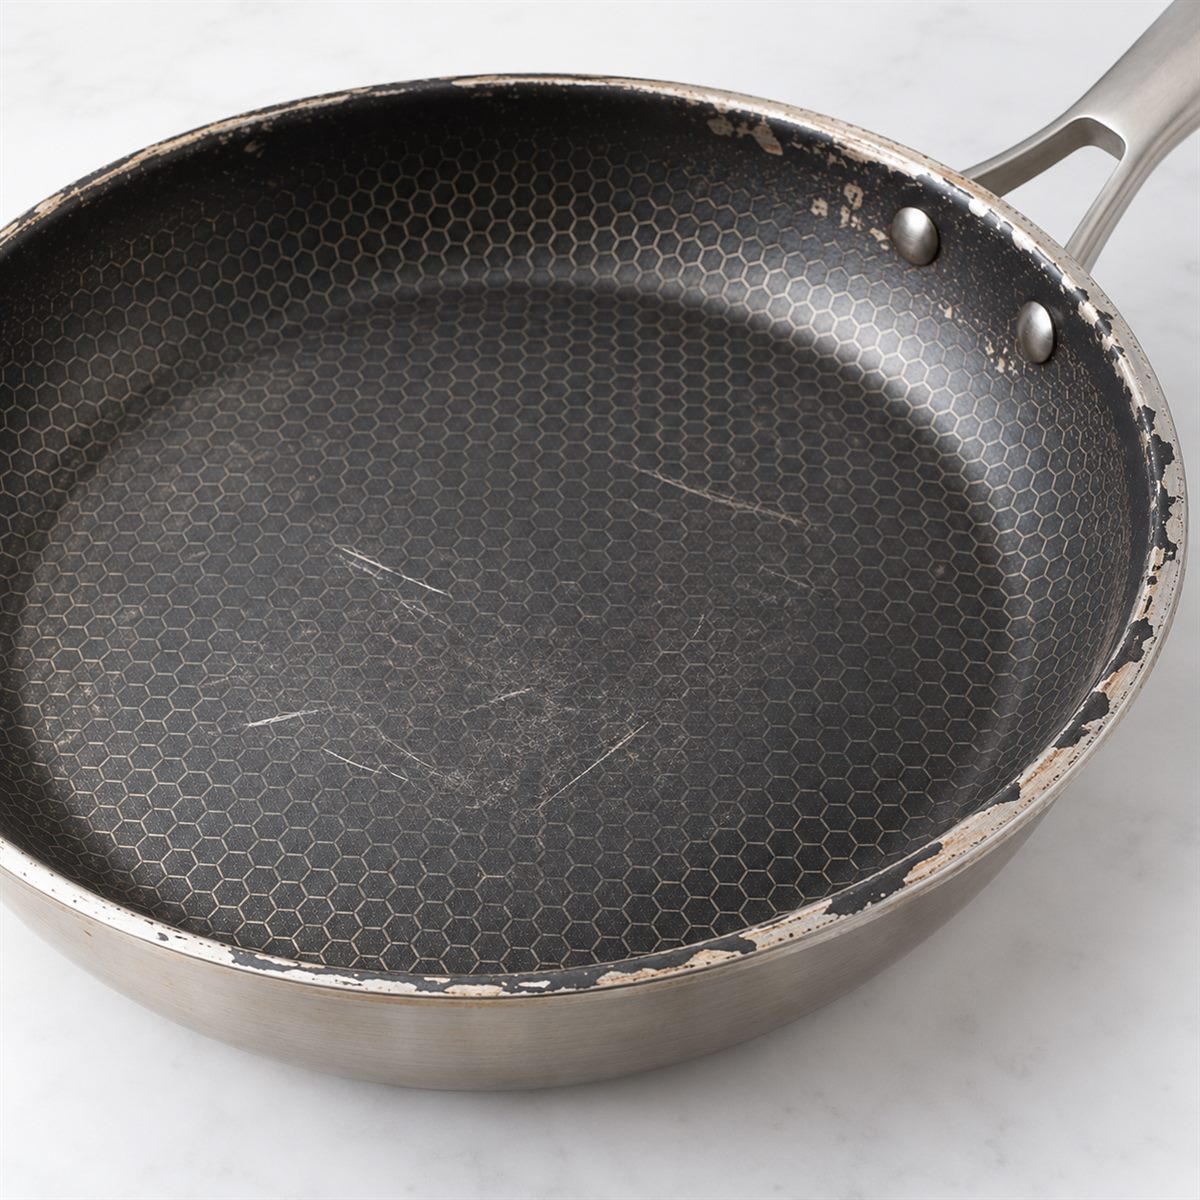
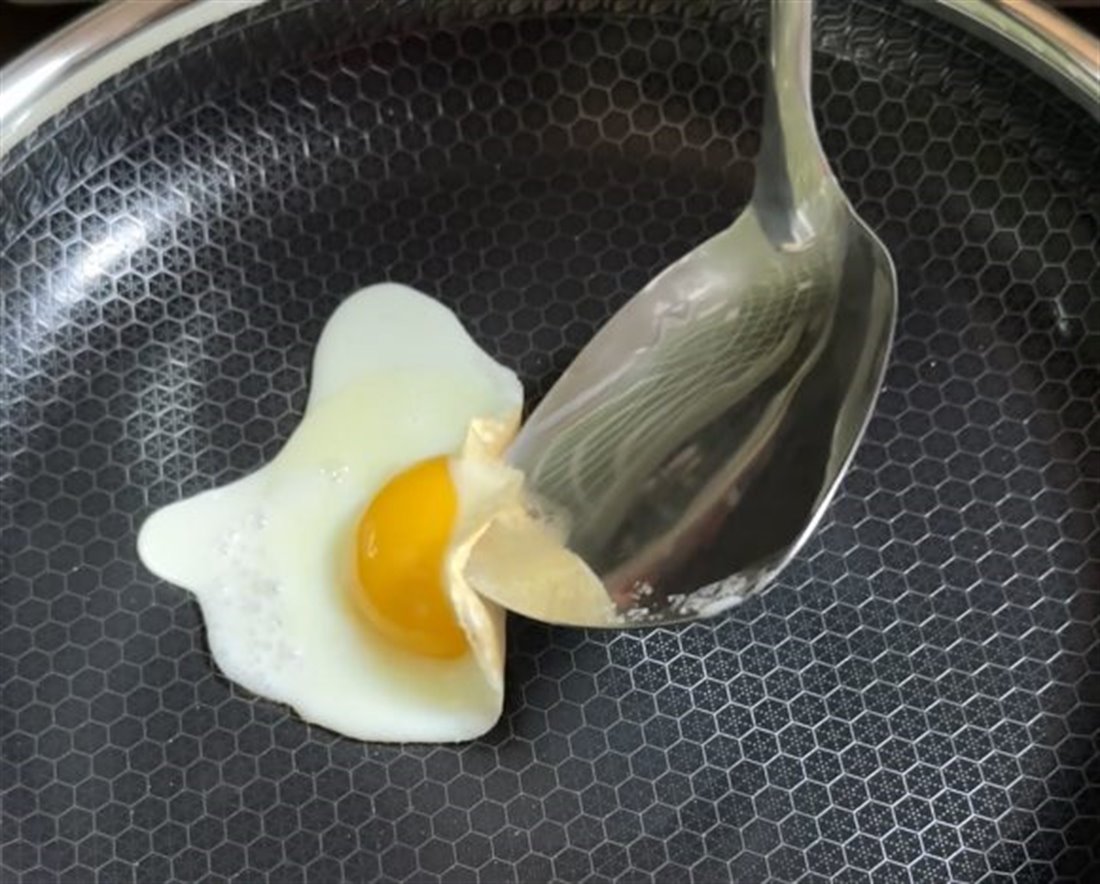
An egg slides across the middle of a cell and then tears on the ridge. A fillet welds itself to the mesh and comes apart when you flip it. Pan-fried dumplings leave a brown map of the hexagon pattern that takes ten minutes of soaking to remove. A year later, the coating around the pattern looks chipped, with dark rings of carbonized residue baked in.
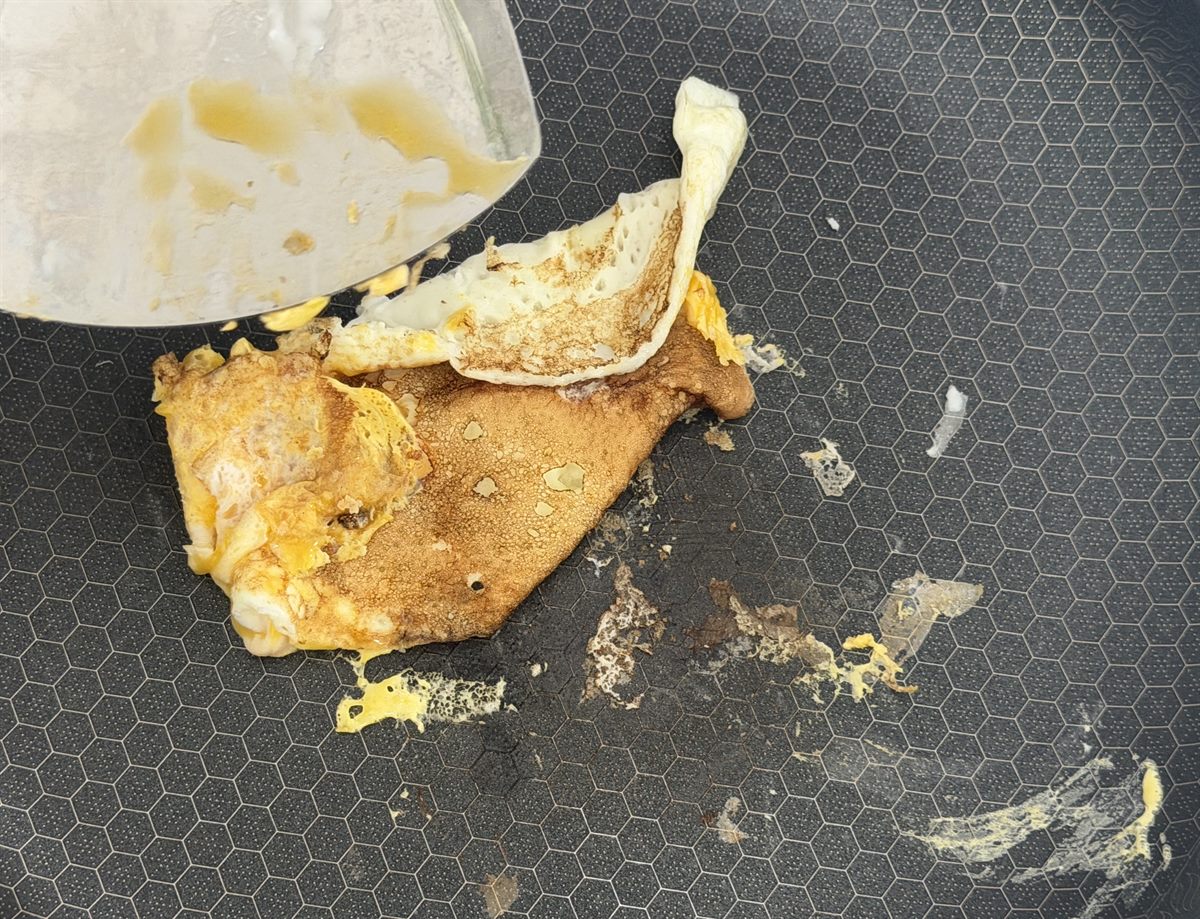
That is not a user error, and it is not a bad batch. It is a direct consequence of how conventional honeycomb pans are manufactured.
Where sticking actually happens
To fix a problem, you first have to locate it. On a traditional honeycomb pan, there are three distinct failure points, and all three trace back to the same geometric feature: the raised steel tips.
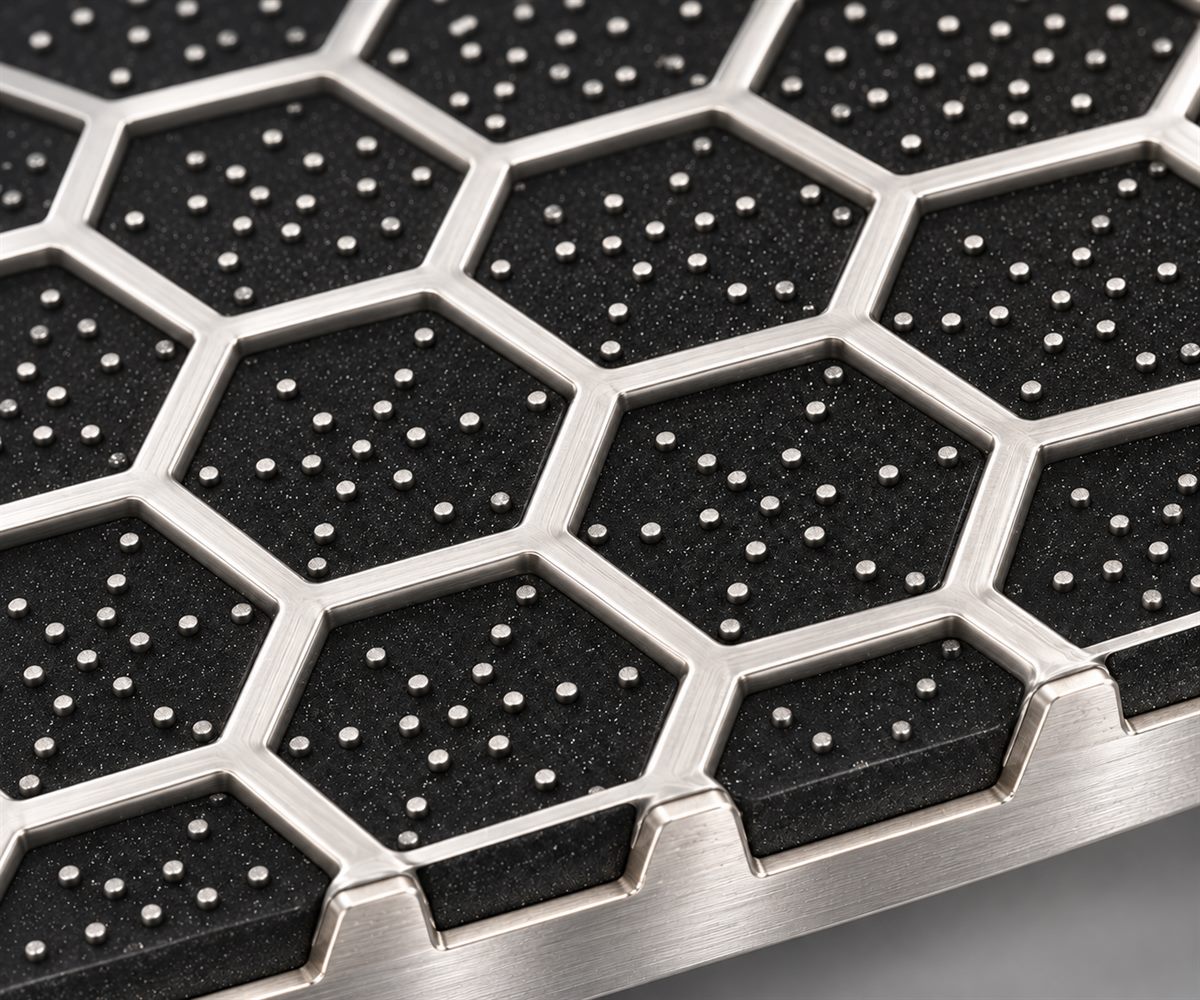
- The bare metal tips. In the standard process, the tops of the honeycomb ridges are exposed stainless steel, which is wettable by design. Egg white proteins denature and bond to it almost instantly at frying temperature, and the oil film breaks at the sharp crest of each ridge. The pan is non-stick in the valleys and aggressively sticky on every peak — and the peaks are exactly what your food rests on.
- The coating edge at every cell boundary. Where the coating in a cell meets the bare ridge, there is a knife-edge interface: two materials, two expansion rates, one abrupt boundary. Under thermal cycling, that edge is where coating begins to lift. What customers call "peeling" usually starts as micro-chipping along this perimeter, not in the middle of a cell.
- The micro-gap between polished metal and primer. Grinding the ridges after coating leaves an open seam between abraded metal and the primer layer. Oil, salt, and acidic juices migrate in, carbonize on the next heating cycle, and become the dark rings no sponge will reach. On the exterior bottom, the same mechanism shows up as corrosion pitting, then as coating flaking off the base.
Read those three together and the conclusion is unavoidable: the problem is not the coating chemistry. It is the order of operations.
The old way: coat first, grind later
The conventional honeycomb line runs like this:
Etch the pattern → spray primer → spray topcoat → grind the raised honeycomb flat
It is a sensible sequence for a factory: the grinding pass at the end delivers a clean, uniform metallic relief in one go. But look at what the wheel is doing. It cuts through the topcoat, through the primer, and into the steel — on the exact surface that will later contact food. The finished pan is, structurally, a coated pan with the coating deliberately removed at the contact points.
Everything downstream follows: sticky peaks, chipped cell edges, carbon in the seams, and a base exposed to salt and acid from the outside in.
The new way: polish the primer, then seal the whole surface
The full-coverage process keeps the same honeycomb geometry but reverses the last two steps. Instead of coating everything and then grinding the coating away, it grinds an intermediate layer and then applies the final film over the finished relief.
The sequence:
- Etch the hexagon pattern into the stainless body.
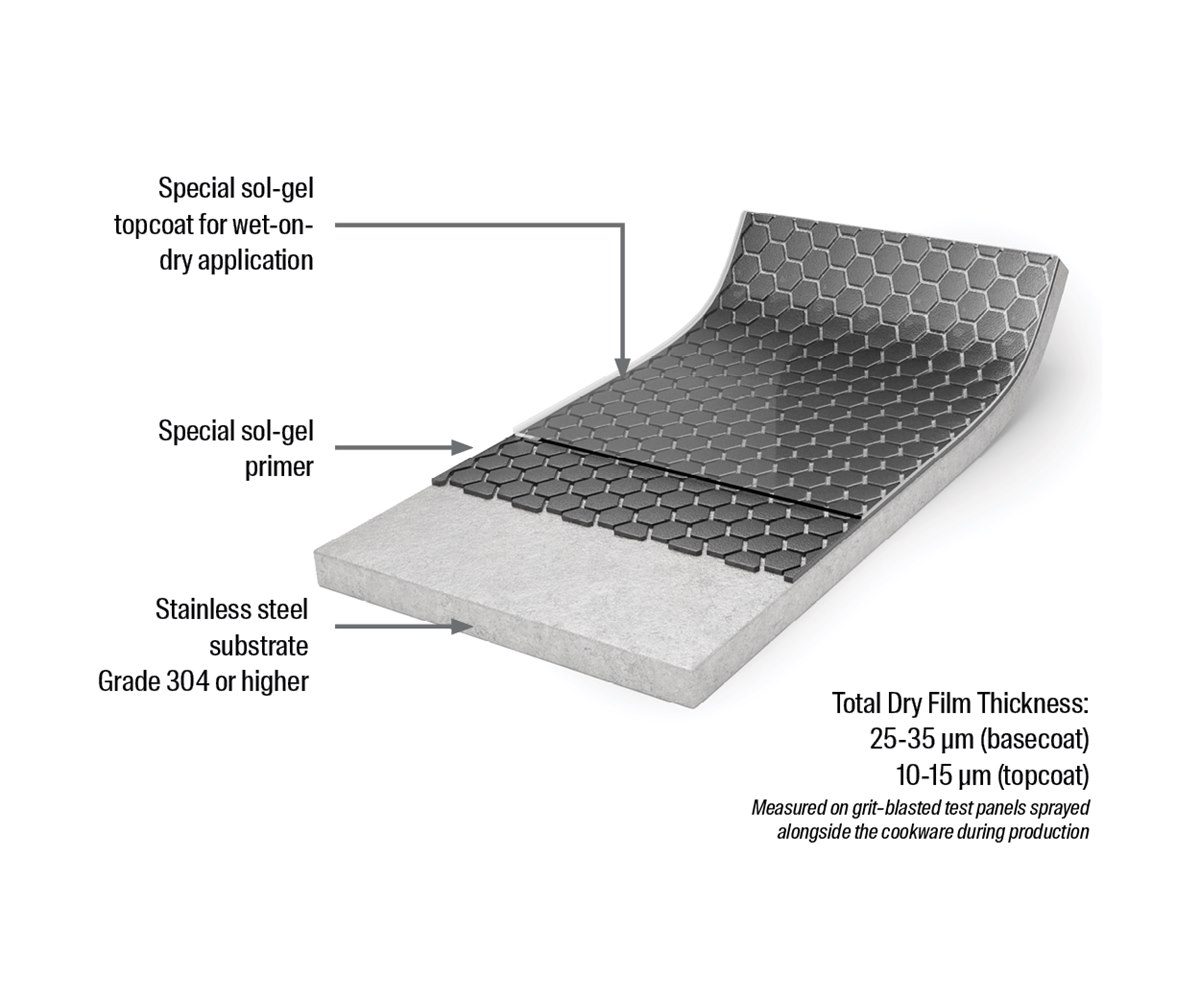
- Spray primer at 25–35 μm.
- Flash dry at 100 °C for 5–8 minutes. This is the critical control point. At this stage the primer is semi-cured — hard enough to cut cleanly, soft enough not to damage the substrate underneath.
- Polish the primer off the raised ridges. You now have a fully formed metallic relief with a primed, intact surface — and no exposed primer edge, because the final coat has not been applied yet.
- Preheat the pan to 40–50 °C to give the topcoat proper flow and adhesion.
- Spray the Sol-Gel ceramic topcoat at 10–15 μm.
- Cure at 280–300 °C for 10 minutes to fully cross-link the ceramic network.
Step 1 on the line — the honeycomb relief is cut into bare stainless steel:
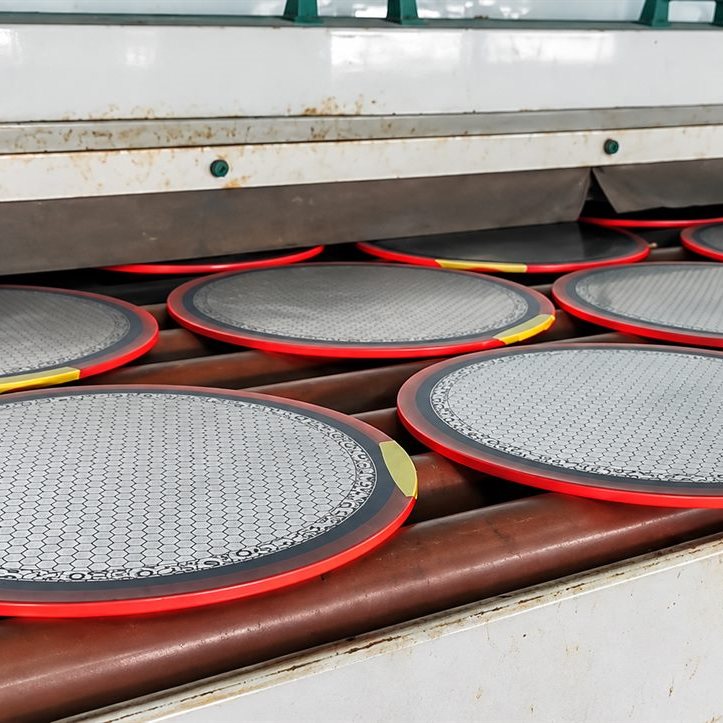
Step 2 is the primer, sprayed to 25–35 μm:
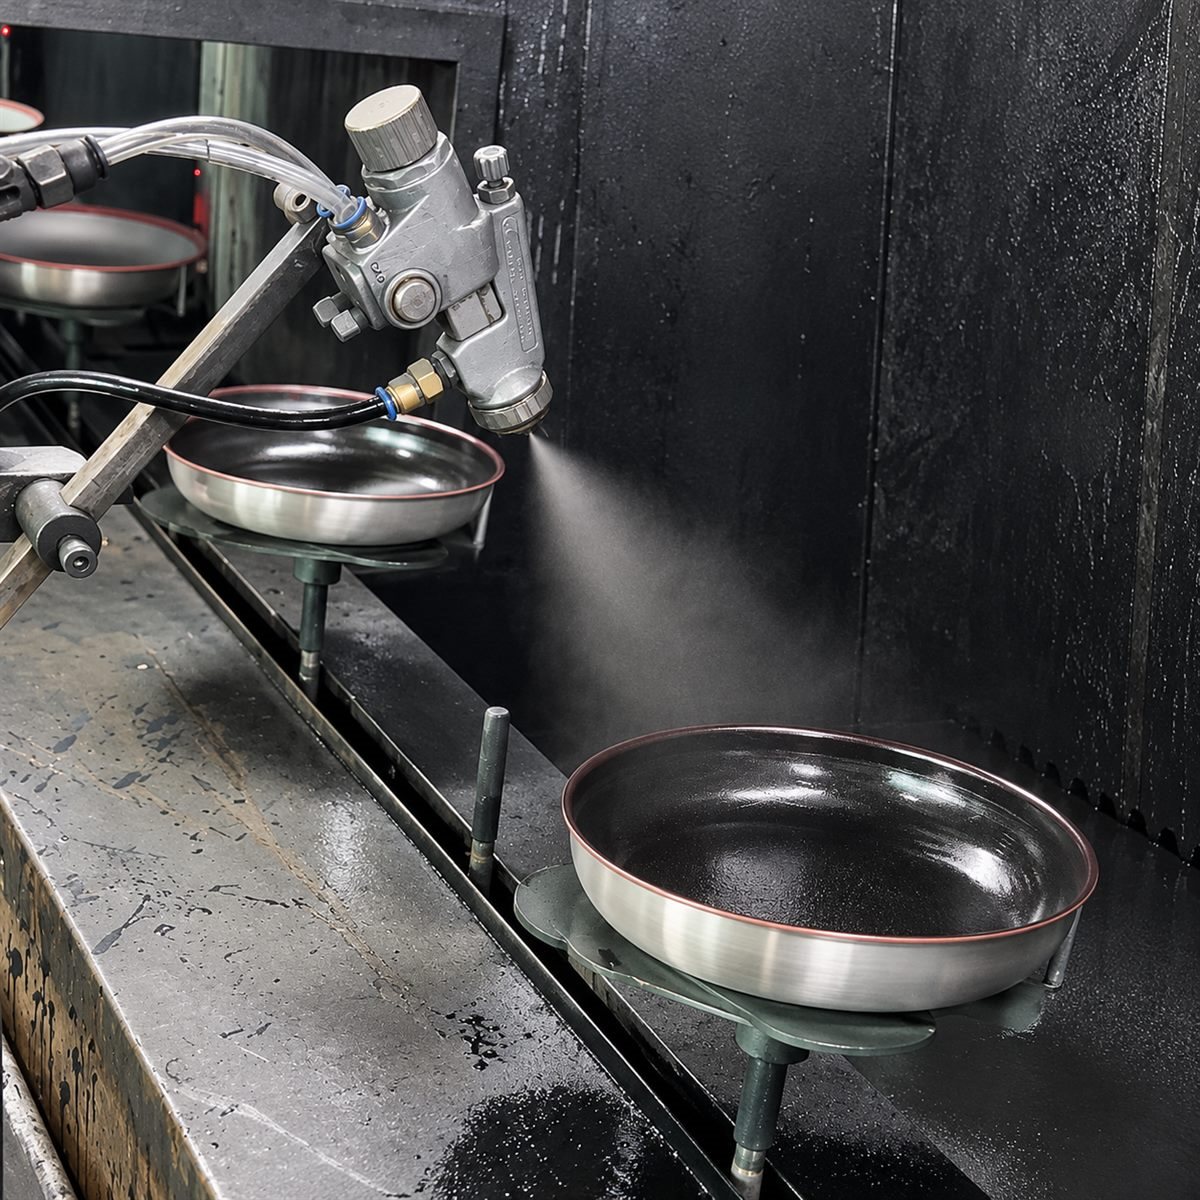
Step 4 is the move that defines the process:
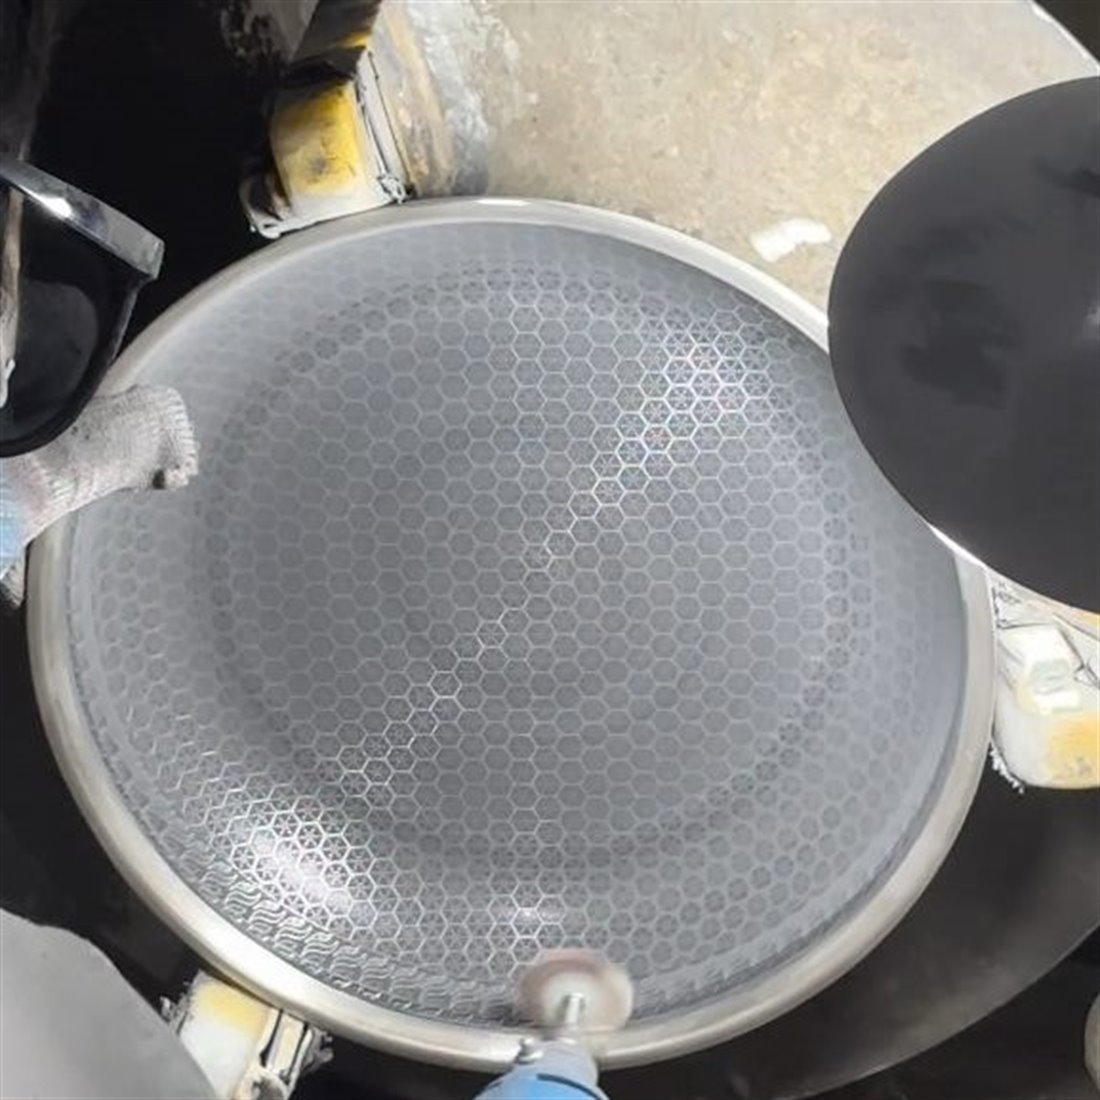
Step 7 locks the film in place:
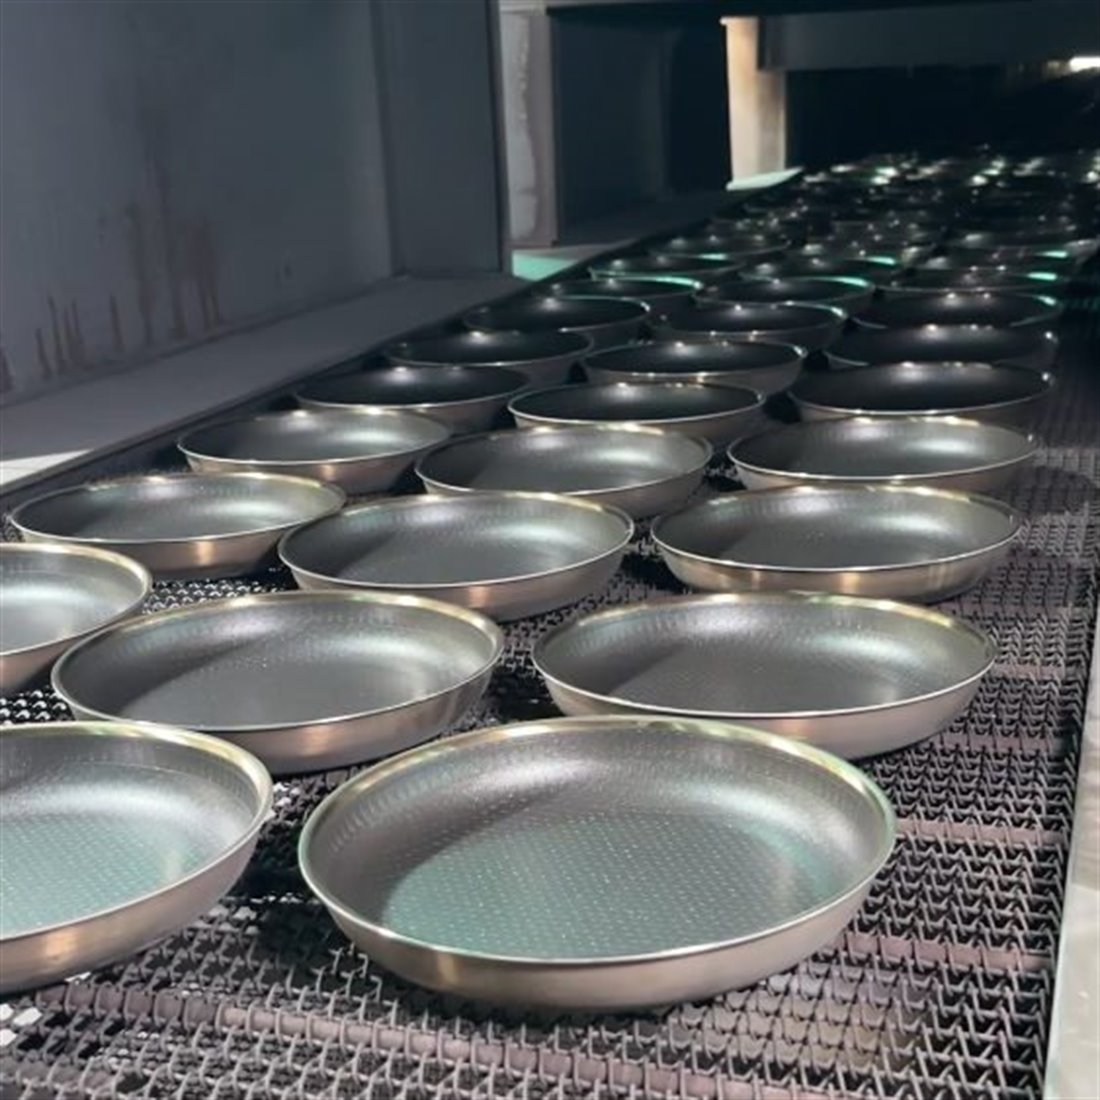
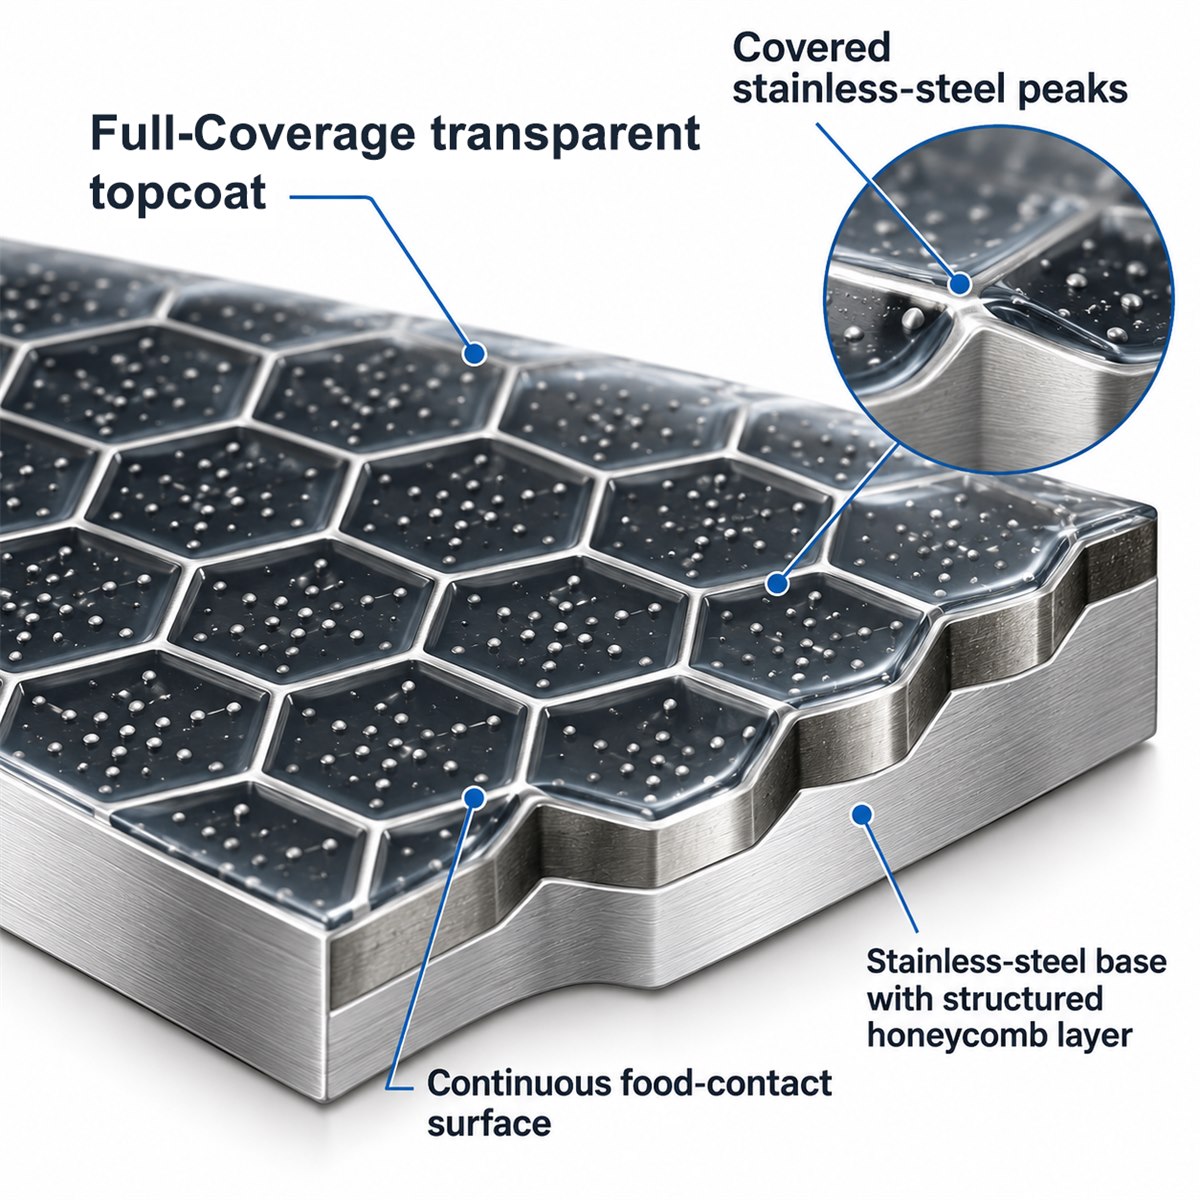
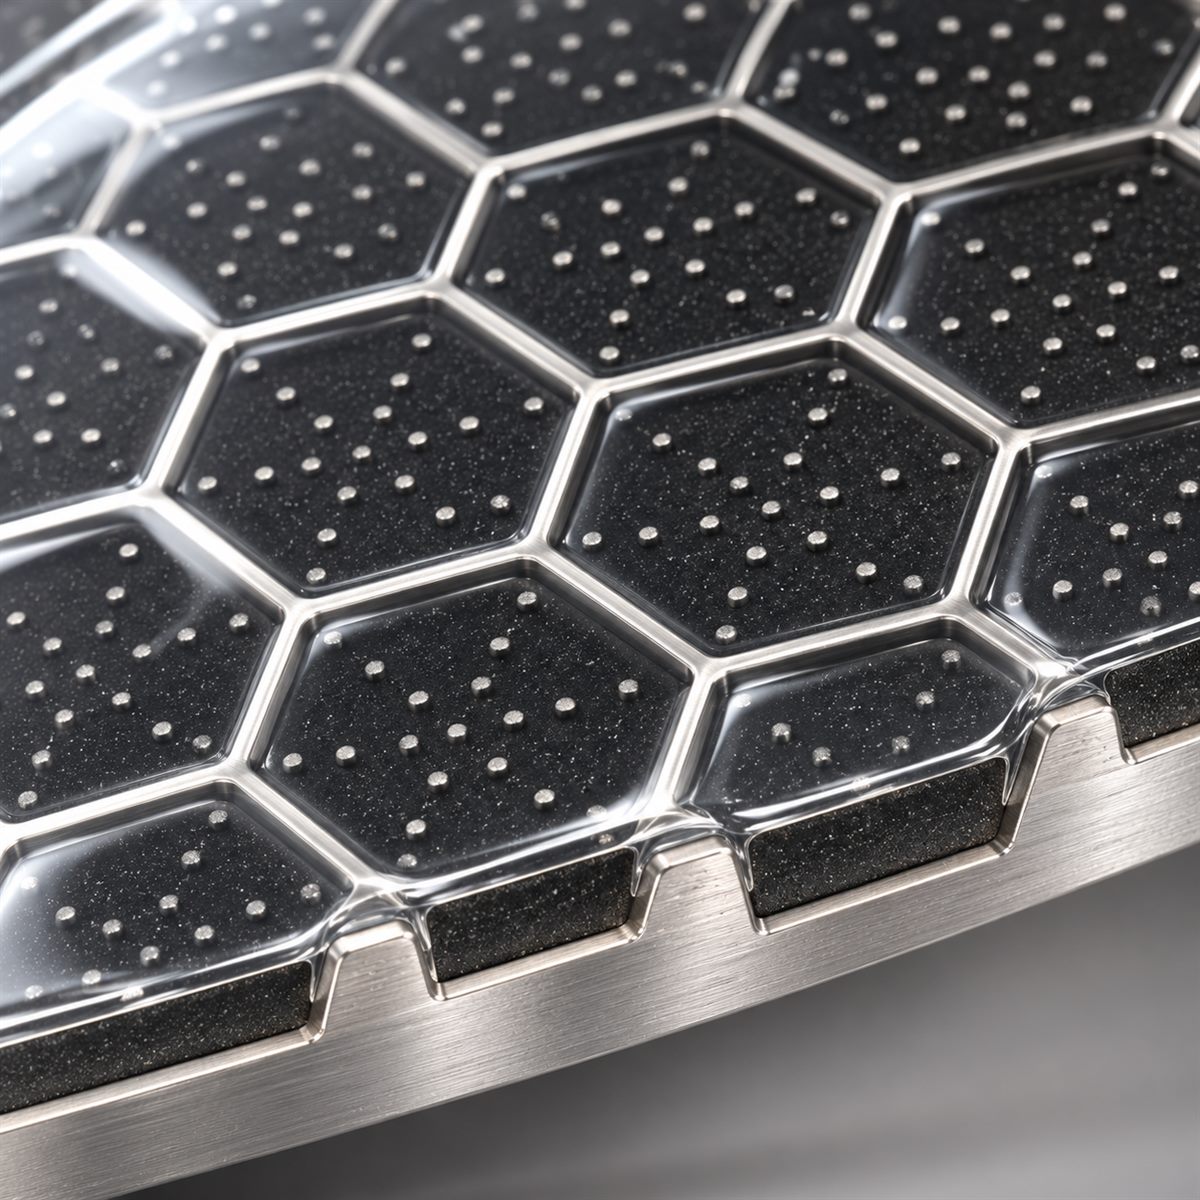
Step 6 is the whole idea in one line. Because the topcoat goes on last, it is sprayed onto the finished topography and bridges across the tops of the ridges: a continuous, transparent ceramic film covering valleys, walls, and peaks, with no break anywhere food can reach.
The steel skeleton is still there, right underneath. You have not given up the scratch resistance — you have simply stopped leaving it naked. The cured film carries continuous temperature resistance up to 288 °C, covering searing, pan-frying, and oven finishing with margin.
What actually changes in the kitchen
| Dimension | Conventional process (coat, then grind) | Full-coverage process (polish, then seal) |
|---|---|---|
| Surface at the contact point | Bare stainless steel on every ridge top | Continuous ceramic film over the entire surface, ridges included |
| First-use release | Uneven — clean release in cells, protein adhesion on ridges; eggs and fish tear | Uniform release across the whole pan |
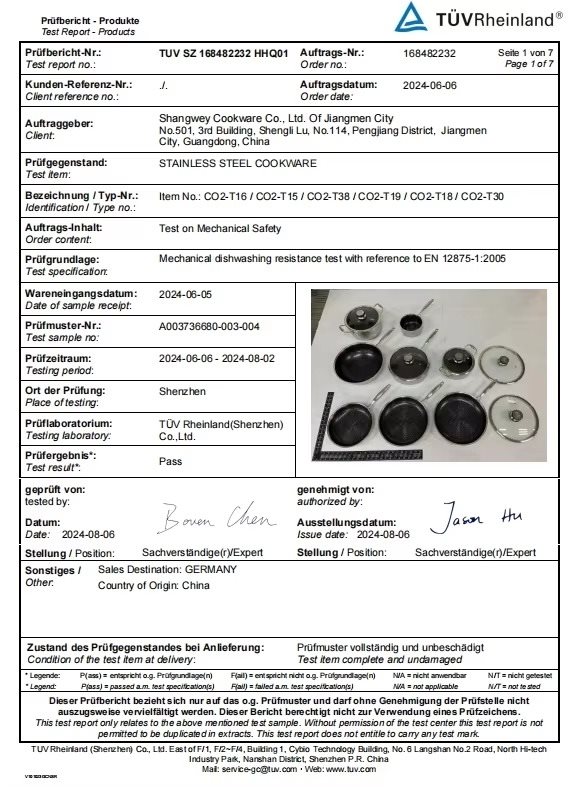
| Long-term durability | Coating edges around each cell abrade and micro-chip; the pattern "wears in" | The topcoat acts as a sealed, closed film; better abrasion, dishwasher, and salt-spray performance |
| Corrosion and staining | Open seam between polished metal and primer collects carbon; possible rust at the base | The top film blocks salt and acidic media from the seam; salt-water boil resistance improves markedly |
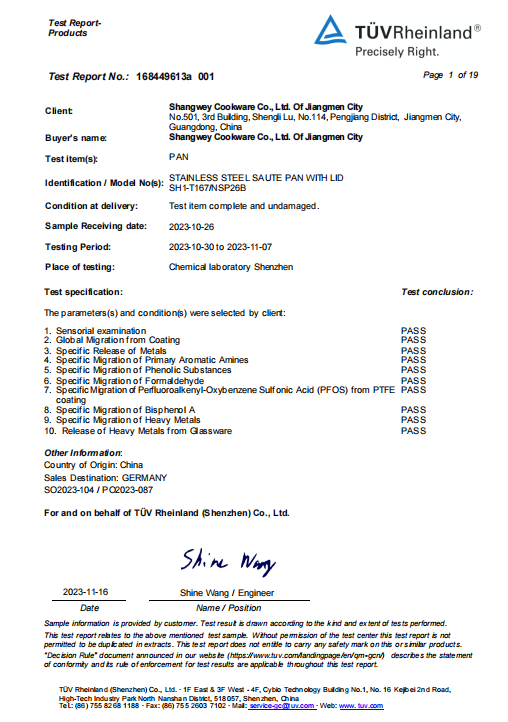
| Food-contact compliance | Polished surfaces can carry mechanical debris and a disrupted coating interface, which is why buyers in the EU and US often question documentation | A continuous topcoat over a polished primer is the condition under which the coating supplier issues its FDA and EU food-contact Declaration of Compliance |
| Appearance | Visible metallic mesh, matte ridges | The same honeycomb relief, read as a smooth continuous sheen under grazing light |
Why the sequence is harder than the formula
The innovation here is not a new coating. Sol-Gel ceramic chemistry is available to any qualified processor. The difficulty is the process window, and it is narrow.
Primer thickness. Below roughly 25 μm, polishing cuts through to bare steel and you are back to an exposed skeleton. Above roughly 35 μm, the relief becomes shallow and the pattern loses its anti-abrasion function.
Flash-dry state. Polish too early and the primer smears instead of cutting, clogging the relief. Polish too late and the film is fully hardened: the wheel skips, generates heat, and can crack the primer at the cell edges.
Topcoat thickness. At 10–15 μm the film follows the relief faithfully, sealing the ridge tops without filling the pattern. Too thin and the peaks are not fully covered — the defect returns. Too heavy and the film pools in the valleys, mud-cracks in the oven, and flattens the texture.
Cure. 280–300 °C for 10 minutes completes cross-linking. Under-cure leaves a film that looks perfect and fails early in service.
Which is why "honeycomb pan" is not a meaningful specification. Two pans can share an identical pattern, an identical coating brand, and completely different performance.
PFAS-free — and why the paperwork depends on the process
The Sol-Gel ceramic system is fluorine-free: no PTFE, no PFOA, no PFAS. That matters in a market where PFAS restrictions are tightening across the EU and in several US states, and where retailers increasingly screen suppliers on chemistry rather than claims.
But there is a second, less obvious point. A compliance declaration covers a coated article, not a bucket of paint. When the final film is applied over a freshly polished surface, the interface is clean, continuous, and fully cured — and that is the condition under which the coating supplier will issue the FDA and EU food-contact DoC for the finished pan. Grinding through a finished coating leaves an open, debris-prone interface instead, and buyers know it.
FAQ
Do the hexagons still protect the coating if they are covered?
Yes. The protective function comes from the steel skeleton underneath, not from whether it is visible. The film is 10–15 μm thick — thin enough to conform to the relief, so the ridges still carry the mechanical load while the film handles release.
Is it dishwasher safe?
The sealed film performs significantly better in accelerated dishwasher testing than a conventional honeycomb surface, because there is no open seam for detergent and salt to attack. Hand washing still extends the life of any coated pan.
Can I use metal utensils?
More tolerant than a flat ceramic pan, since the steel mesh sits beneath the film. Silicone and wood remain the right default; normal pressure with a metal spatula is not a failure mode.
Does it work on induction?
Yes — the body is a stainless multi-layer construction, and neither the etch nor the coating affects induction compatibility.
Is it really PFAS-free?
The Sol-Gel ceramic system contains no PTFE, PFOA, or PFAS. Ask for the DoC for the finished article, which is the document that matters at customs and at retail.
The short version
Traditional honeycomb pans stick because the manufacturing sequence strips the non-stick layer from exactly the places food touches. Applying the final coat after polishing — instead of before — turns an exposed steel grid into a continuous ceramic surface while keeping the scratch resistance that made the design worth building.
It is not a new coating. It is the right order of operations, executed inside a narrow window. And it is the difference between a pan that looks technical and a pan that actually releases an egg.